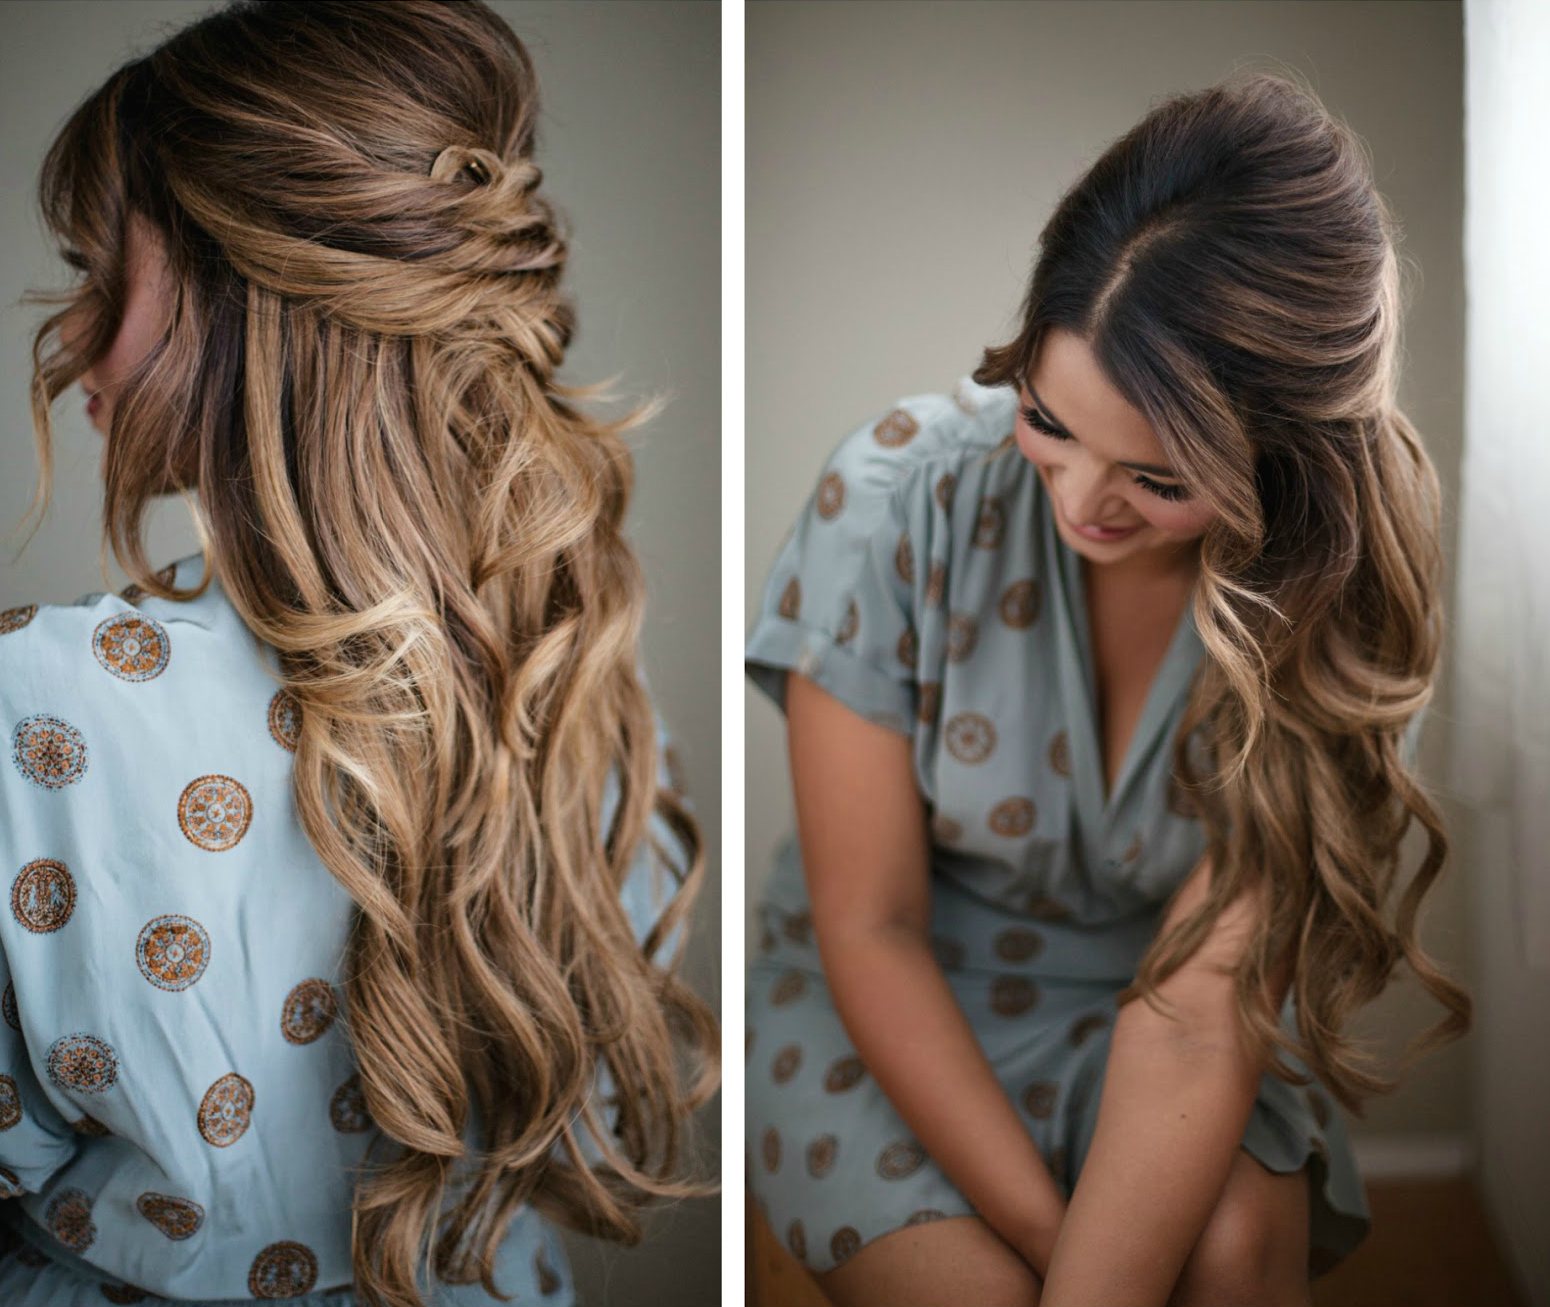
Photos by Rob Trendiak (Instagram) | Hair Styling by Eliza Trendiak (Instagram) | Hair Extensions by Veronica Gomes (Instagram)
...
Please be sure to check out part one of this tutorial showing you how to properly clip in my hair extensions with my amazing hair stylist, Eliza Trendiak (owner Artel Salon here in Vancouver)
Look One:
I am obsessed with the pretty simplicity of this style, the best part is that it took minutes to create. Eliza started by backcomb for root volume in the crown of my hair for additional volume. Her next step was to loosely take one inch sections from above my temple and twist back to the center of my head, while fastening each section with a bobby pin. The last step was to pull pieces of my twisted hair gently to create more fullness and to continue this on either side of the head for 4-5 rows.
I am obsessed with the pretty simplicity of this style, the best part is that it took minutes to create. Eliza started by backcomb for root volume in the crown of my hair for additional volume. Her next step was to loosely take one inch sections from above my temple and twist back to the center of my head, while fastening each section with a bobby pin. The last step was to pull pieces of my twisted hair gently to create more fullness and to continue this on either side of the head for 4-5 rows.
Look Two:
I'm usually not so great at doing braids, but this look seems so hard, but honestly the way that Eliza did it was made it seem like even I could recreate it in a snap. Here are the steps to do this at home. First, Eliza section my hair into two parts and do traditional low pigtails. The second step was to wrap a small strand of hair around the pigtail to cover the elastic and fasten with hairspray or bobby pin. Then Eliza wrapped a small strand of hair around the pigtail to cover the elastic and secured it with hairspray and a bobby pin. Finally, Eliza did a fishtail braid one third of the length down the pigtail and added another elastic, wrapping it with a strand of hair to cover it and repeated the process until the end of the hair length.
Look Three:
For this look Eliza used a 1.25 inch curling iron taking medium sized sections and curling away from the face. It's also important to make sure that you curl real hair and extensions together for a seamless look.
Look Four:
The final style was something that I was trying to do on my own for years, but always got confused. Luckily, Eliza broke it down step by step and made it look so easy. I've actually worn my hair like this three times since the shoot! The first step was to divide my hair into pigtails and do a regular 3 strand braid on each pigtail starting from behind my ears. Once both sides are braided flip one tail up and across the top of your head and secure with bobby pins and do the same on the other side. Next just tuck the end of one braid underneath the other braid and secure with bobby pin. Do the same with the other braid on the other side. The final step is to carefully cut out all elastics and finish with hairspray. Love it!
The final style was something that I was trying to do on my own for years, but always got confused. Luckily, Eliza broke it down step by step and made it look so easy. I've actually worn my hair like this three times since the shoot! The first step was to divide my hair into pigtails and do a regular 3 strand braid on each pigtail starting from behind my ears. Once both sides are braided flip one tail up and across the top of your head and secure with bobby pins and do the same on the other side. Next just tuck the end of one braid underneath the other braid and secure with bobby pin. Do the same with the other braid on the other side. The final step is to carefully cut out all elastics and finish with hairspray. Love it!
xo, Ally


This one is good. keep up the good work!.. Nano ring hair
ReplyDeleteI think it's safe to say that I'm a fan of online writing help. And sop writers service is a great site to get your assignment issues solved at a reasonable price and in a friendly manner. Sure thing, with any writing service you have to spend some time looking at customer comments and reviews to make sure you won't get a poorly-written paper. I got exactly what I expected from this company.
ReplyDelete